Showing posts with label Lemons. Show all posts

Monday, December 24, 2012

CANDIED PEELS * FIRST ATTEMPT

I found two candied peel recipes on the net, both very similar in method. Here's mine in pictures

cut orange for the peels


Wash and peel fruit.


boiling lemon peels
Lemons   


Place peels in COLD water and bring to a boil, time at 2 minute intervals and do this 3 times, for a total of 3 blanchings.
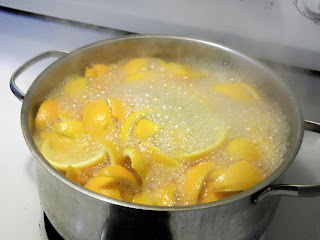
boiling orange peels
Oranges


I used oranges and lemons and kept them separate.


drain lemon peels after 3rd blanching
Third blanching


After the third blanching, drain well...
cut away the pith from a blanched orange
Cut off the pith


and cut the pith off to about 1/4 inch (its ok to leave a little more on)
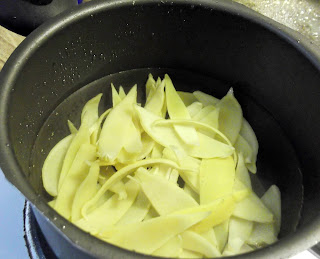
4th and 5th blancing of lemon peels
Fourth and 5th blanchings


Pour in more cold water and blanch 2 more times @ 2 minute intervals. Doing this removes the bitterness from the peels.


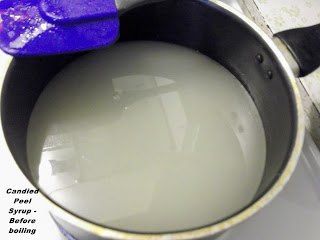
Cloudy Candied Peel Syrup
Bring to a boil 4 cups sugar, 2 cups distilled water and 2 tbsp Lemon Juice. 

I doubled this because I had two sets of peels to do.
Amber Candied Peel Syrup
Clear with an Amber color  


It looks like this until it boils and becomes:


All this looks like a great deal of work, in reality just cutting the peels off the fruit took the most time so far.
four pots on four burners of a stove
All four burners goin' at once...
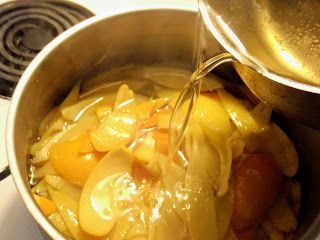
syrup poured on prepared orange and lemon peels


Pour the syrup over the prepared peels
simmering peels in syrup


Simmer for an hour on low heat, uncovered. 


Cover and let sit overnight in the syrup.
NEXT DAY  
candied orange peel just out of syrup


The peels have taken on a transparency. 
drain candied peels
Let drain for a few minutes, saving the syrup


Now we come to the 'gooey' part! 


dredge candied peels in sugar 
Take each peel and wipe off the syrup with your fingers, then dredge them in sugar...


candied and sugared peels


and set them on a rack. The peels are easier to handle after coating.


And into the oven they go! @ 200 F for about 4 hours to dry ~*~ checking frequently so they don't burn. 


I placed the racks as high above the element as I could to ensure no burning.
After 6 hours drying in oven they were still pliable until removed, when they became hard and chewy.


HINDSIGHT
Doing this the first time taught me a few things that I'd do differently the second time. 
  • I'd limit the oven time to 4 hours instead of six because that would be all they need ~ my thinking here is that they will be less hard and more chewy with less drying time.
  • Of course another option would be to leave them out to dry naturally but that could take 24 hours to complete, longer if the weather is damp and you'd have to have a fairly warm house.
  • I'd leave a tiny bit more pith on the peels than the 1/4 inch ~ this affects the end result.
You can do this with any citrus fruit, including grapefruit. Its worth a try to see if you like them and they are wonderful to put into a nice jar with a fancy lid and give as gifts for any occassion
Note that they are not a treat that you can sit and eat ten at a time, so they will last when stored in an airtight container. 

HAPPY 2012 CHRISTMAS  


 Catspaw


Friday, December 14, 2012

PERFECT PIE CRUST, EVERYTIME? EVERYTIME!

Is anyone a walking disaster in the kitchen when it comes to breads and pie crusts?   

Besides me, I mean!   

Not a month ago I came across a recipe for pie crust that; well, WORKS and I've been using it ever since for quiches, pies and anything else that requires crust.

Seems I can get the ingredients right ~ perfect, actually, though when it comes to the correct amount of kneading - well, that's another matter altogether. I love this recipe because its not only simplicity itself but its also idiot proof and you get to use a food processor to do all the work for you!
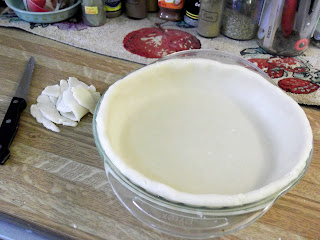
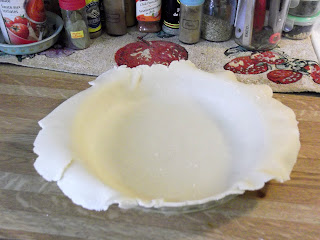
homemade pie crust in pie plate
This from someone who is worse than all thumbs when it comes to making an edible pie crust  !!!
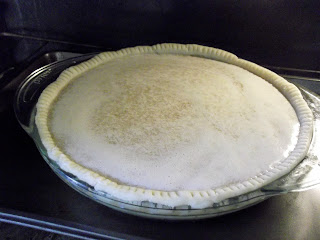
homemade pie crust edging
I fold the dough in so its thicker on the top and I can make a nice edging
Pie Crust
1-1/2 c Flour
2 tbsp Sugar
1/6 c COLD Shortening = 2 tbsp + 2 tsp
1/3 c COLD Butter
1/4 c COLD Water
1.  Toss the flour, sugar and cold shortening in the processor for 15 seconds
2.  Add the cold butter and mix a few more seconds
3.  Dribble in the water as you are mixing in the butter  
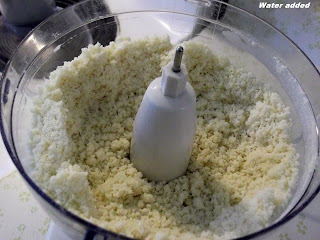
homemade pie crust ingredients in a food processor
All ingredients added makes for a crumbly dough...
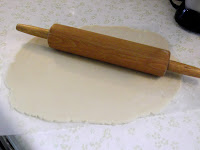
4.  Turn out onto a lightly floured plastic board (they are flexible and easier to maneuver the dough without breaking it), put together into a ball and roll out                                                               
homemade crumbly pie dough ready to be rolled
homemad ball of pie dough
homemad and rolled out pie crust on plastic boardIt doesn't look like it but it goes together quite easily. 

5.  Turn plastic board and dough over pie plate, carefully place dough.

rolled out homemade pie crust placed over pie plate
This is how easy it is to place the dough in the plate using a flexible plastic board
6.  Cut off excess, form crust; put into Ziploc bag and chill 30 minutes
homemade pie dough in pie plate
After I trim, I fold the rest under and use a fork to complete the edging.
homemade pie crust in pie plate, in plastic bag to chill
Into a plastic bag to be chilled in the fridge until the filling is ready to be poured
7.  Pour in filling if its for quiche, lemon/lime or pumpkin pie and bake at 350 for an hour.
pie filling poured into homemade pie crust

Special Note     (you knew this was coming, right):
When baking the crust prior to adding filling, leave more dough around the edge as it will shrink when baked. 
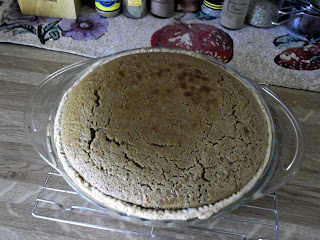
perfect homemade pumpkin pie
End result: a Wonderful and Edible Pumpkin Pie!
I always keep a shortening and a butter in the fridge along with a jug of water. The colder these particular ingredients are, the better the recipe works because the shortening and butter have different melting points.

Just in time for the Holiday Baking to start, a 'THANK YOU' to all my loyal readers, from...

Catspaw